total solar eclipse. Our offices will reopen on April 11th at 10:00 AM local time. We apologize for any inconvenience.


Solar Imaging Tips
Best Practices for Solar and Eclipse Imaging
Disclaimer/Warning: **Be sure to excercise proper solar imaging safety. Always use a solar filter! You can damage your camera or your eyes if you do not use a solar filter properly.**
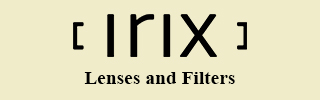
Solar Eclipse of 2017 - Canon EOS 5DS - Full Spectrum Astro-Modified - No Filter during totality. **Be sure to excercise proper solar imaging safety. Always use a solar filter! You can damage your camera or your eyes if you do not use a solar filter properly.**
Solar Imaging Equipment: Solar imaging can be as simple as an inexpensive solar filter and your mobil phone camera. For optimal results it's best to use high quality optics and a great imaging camera. For purposes of this page we will discuss equipment related to using a DSLR or Mirrorless camera and high quality optics.
Cameras: You can capture images of the sun with good results using a simple inexpensive DSLR or Mirrorless camera and a good quality lens or telescope. For best results we recommend a camera with a full frame sensor and high quality optics. While almost any camera can capture images of the sun it is important to use a camera that has full manual functionality, allowing you to manually adjust different shutter speeds and aperture settings. A camera that will capture and save image files in RAW format is very important. Exposure bracketing functions are very usefull and will help you capture details of the solar corona and Lunar surface that can be used in post processing for very impressive results. The option to use an external intervalometer is also a good option. All of these capabilities and benefits will be explained below on this page. Some cameras we recommend are the Canon R series full frame mirrorless models (R5, R6, R6 II, and R), the Nikon Z series mirrorless models (Z6, Z6 II, Z7 Z7 II, Z8, etc...), and the Sony A7 Series cameras are great performers as well (A7 II, A7 III, and A7 IV, etc...). For optimal results an Astro-Modified camera will allow more light within the H-Alpha portion of the EM spectrum, which will reveal more of the solar corona than a normal, or un-modified camera. For even more light sensitivity a Full Spectrum Astro-Modified camera will reveal even more of the solar corona for incredible details. (Astro-Modified cameras can be found here.)
Optics - Lenses and Telescopes: You can image the sun with great results using a simple inexpensive DSLR or Mirrorless camera and a good quality lens or telescope. For best results we recommend a camera with a full frame sensor and high quality optics. While almost any camera can capture images of the sun it is important to use a camera that has full manual functionality, allowing you to manually adjust different shutter speeds and aperture settings. A camera that will capture and save image files in RAW format is very important. Exposure bracketing functions are very usefull and will help you capture details of the solar corona and Lunar surface that can be used in post processing for very impressive results. The option to use an external intervalometer is also a good option. All of these capabilities and benefits will be explained below on this page.
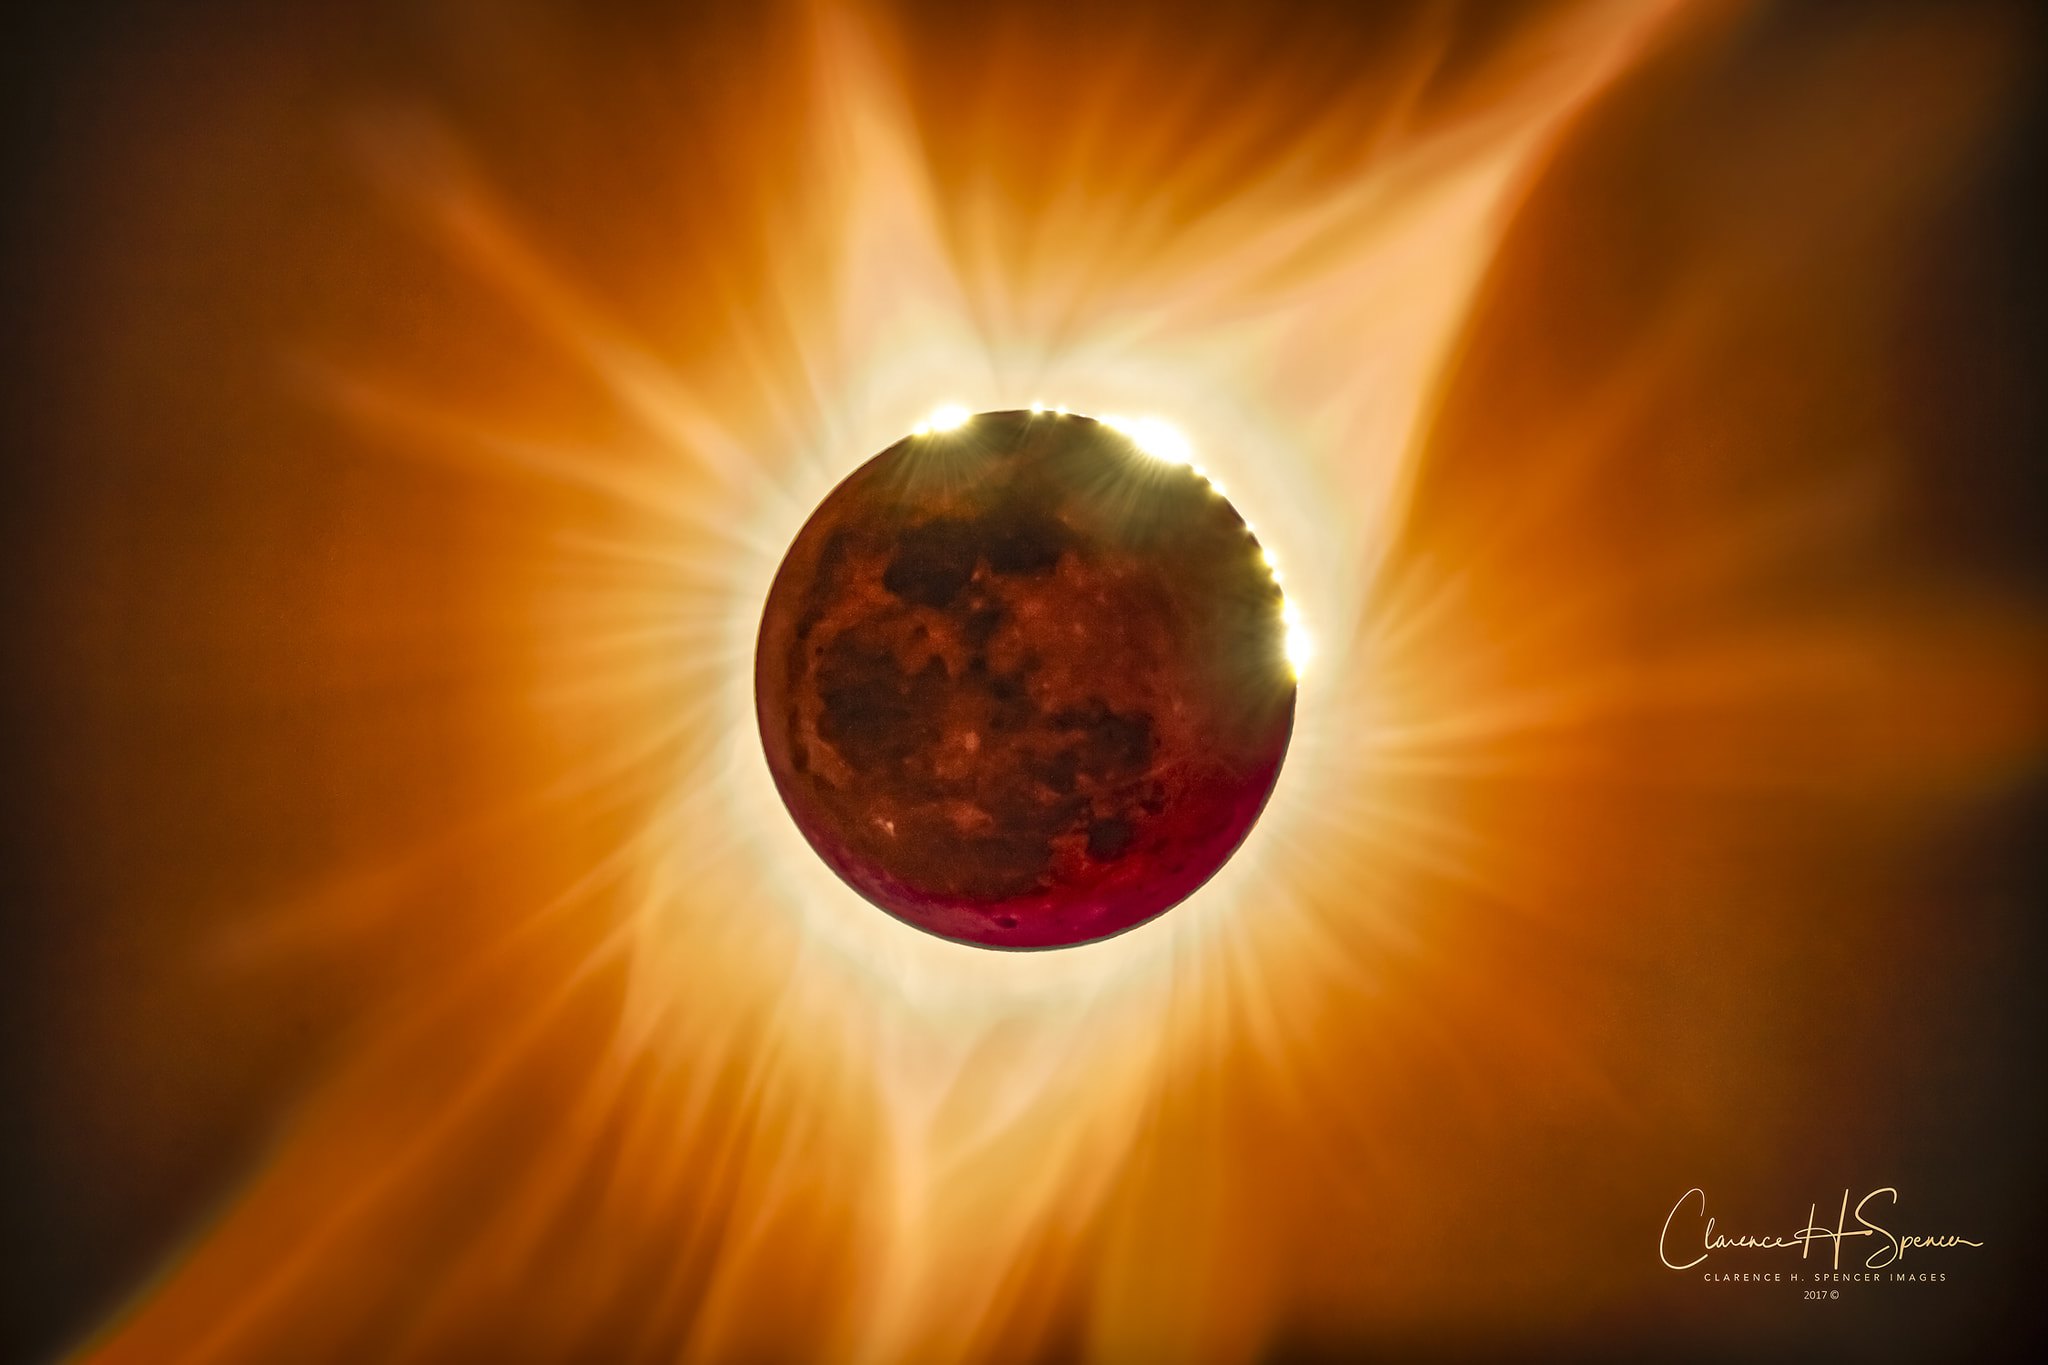
A simple image of the sun using a solar White Light filter. A link for these type filters is listed below. Image captured using a 1200mm focal length telescope.
Optics - Lenses and Telescopes continued: Because the Sun is an extremely bright object, a very fast lens is normally not required for good images. But, in general, the high quality the optics, the better the image. Sharpness and Focus accuracy is very important. Also, a lens with a broad manual focus barrel range/movement is a great option. It will allow larger rotational movement for fine adjustment of focus and sharper images. Magnification or Focal Length is something to concider. Usually the longer the better. Or, the more magnification the better, but within reason. Something in the 400-600mm is usually decent, but a focla length of 800mm to 1200mm is optimal. 1400mm can be too magnified for solar eclipse images because you would want more of the surrounding sky and solar corona to be captured. Here are a few lenses we recommend: Sigma 150-600mm, Sigma 50-600mm, Canon 100-400mm, Sony 200-600mm. For widefield imaging that will allow capturing the full coronal area and surrounding visible stars during an eclipse totality it may be better to use something with less magnification. Here are a few lenses we recommend for this purpose: Irix 150mm Dragonfly, Sigma 135mm. Of course, Telescopes are a great option to image the sun. Something in the 800mm to 1200mm focal length is usually preferred. you can use less magnification if budget doesn't allow the longer telescopes. Here are some telescopes we recommend: Williams Optics RedCat 51, Williams Optics RedCat 61, Williams Optics RedCat 71, Sharpstar 140, Celestron 6 inch refractor. In general Sharpstar, Williams Optics, Explore Scientific, and Celestron are good scope brands. Prices can vary dramatically.
.jpg)
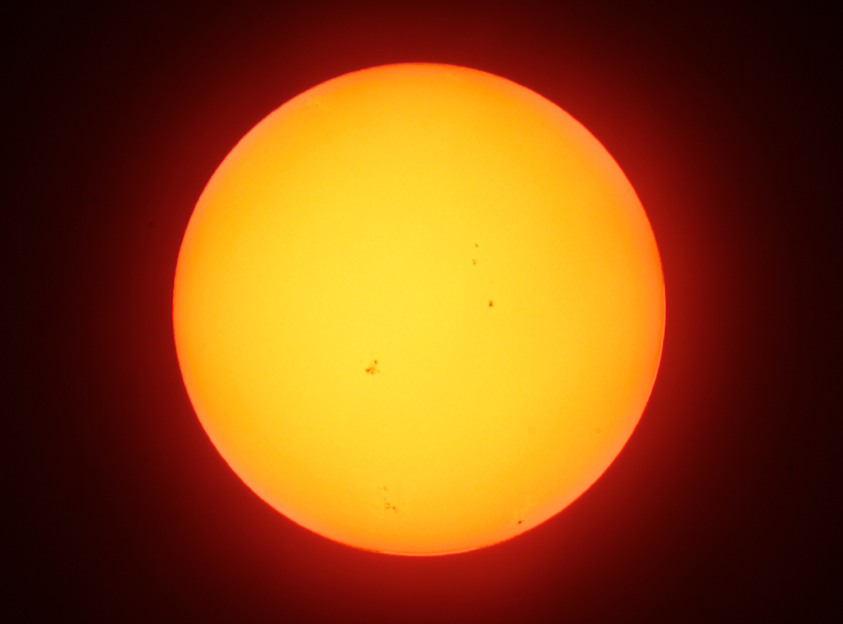
A simple set of images of the annular eclipse of 2012 using a solar White Light filter. A link for these type filters is listed below.
Trackers and Mounts: When imaging the sun it is much easier if your lens or telescope can track the sun acurately as it moves accross the sky. You can manually track the sun but it is not recommended. Especially during an eclipse you don't need more distractions when watching and adjusting the camera exposures. A tracker or motorized equitorial mount will remove one mrore distraction from your list of things to worry about. If you are using camera lenses and the total payload weight will be under 10 pounds we recommend the Sky-Watcher Star Adventurer tracker (or an equivelent tracker). There is also a more robust version called the Sky-Watcher Star Adventurer GTI that will provide Go-To capabilities and will allow a slightly heavier payload (up to 15 pounds). Due to weight and size we recommend a larger motorized mount for telescops. The Sky-Watcher EQ-6R Pro is a very reliable mount that can carry a 40 pound payload. It also provides a lot of extra functionality, including the abiity to add an autoguiding camera and scope for precise star guiding and long exposure accuracy. Some of this is unnecessary for solar imaging but will be very useful for dark object imaging if desired. Almost all mounts and trackers will require polar alignment (the more accurate the alignment the better the tracking accuracy). It is best to align the mount during the night and leave it in place for solar imaging during the daylight hours.

A simple set of images of the annular eclipse of 2012 using a solar White Light filter. A link for these type filters is listed below.
A simple set of images of the annular eclipse of 2012 using a solar White Light filter. A link for these type filters is listed below.
Total Eclipse Imaging Best Practices: One of the best methods of imaging the total solar eclipse is by using the following methods. Start by imaging the full disk of the sun with as much of the surrounding area of sky as you'd like. This is determind by the focal length of your lens or telescope. The main image of the 2017 eclipse at the top of this page was captured using a 600mm focal length telescope and a full frame camera. During totality expsore settings were 1/30th of a second, ISO 400, effective aperture f:6.0. Before totality the shutter speed was 1000th of a second but once totality occured the White Light filter on the telescope was removed and shutter speed decreased to 1/30th of a second, revealing the coronal ejections from the sun, and also revealing the surface of the moon lighted by the reflecting glow of the earth. For better results one should use exposure bracketing to capture more variations of exposures for blending, compilation, and editing purposes. Use a bracketed sequence of 7 exposures, at least two thirds to one stop apart. Use an intervalometer and shoot as fast an interval as the camera will allow for saving the bracketed images to the card between each sequence. Mine was every 15 seconds. We use much faster memory cards now and should be able to easily capture the 7 bracketed images every 7-10 seconds, if not faster. Using an intervalometer will also allow you to enjoy the moment. The camera will be doing the work for you and you only need to check on it from time to time. When totality occures check the exposure and focus, then whatch the event. Once totality is over, replace the filters and adjust your exposure back to the original settings.
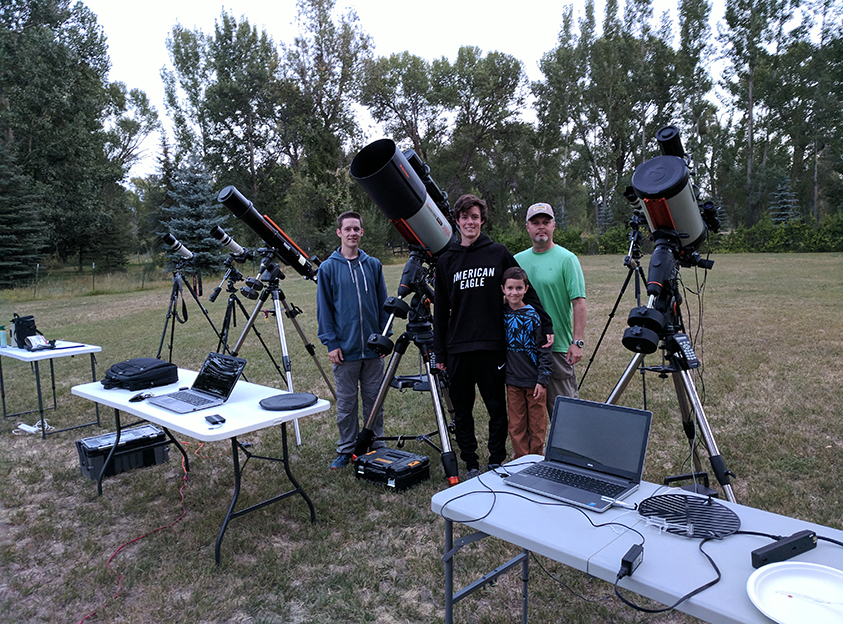
Some of the crew preparing for the 2017 Eclipse.
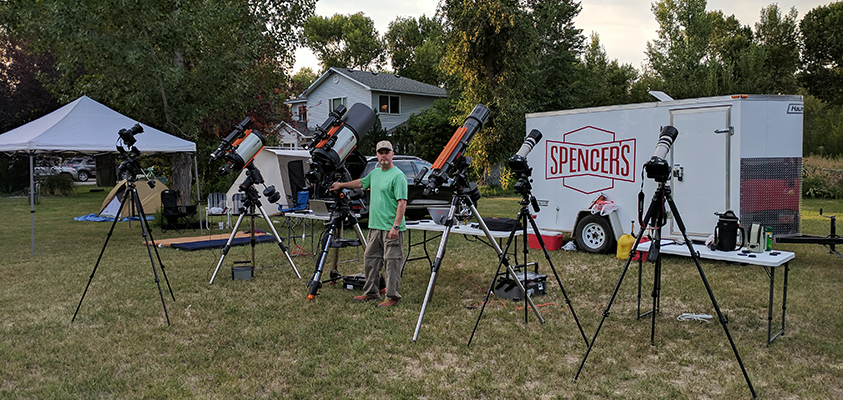
Setting up gear for the 2017 Eclipse
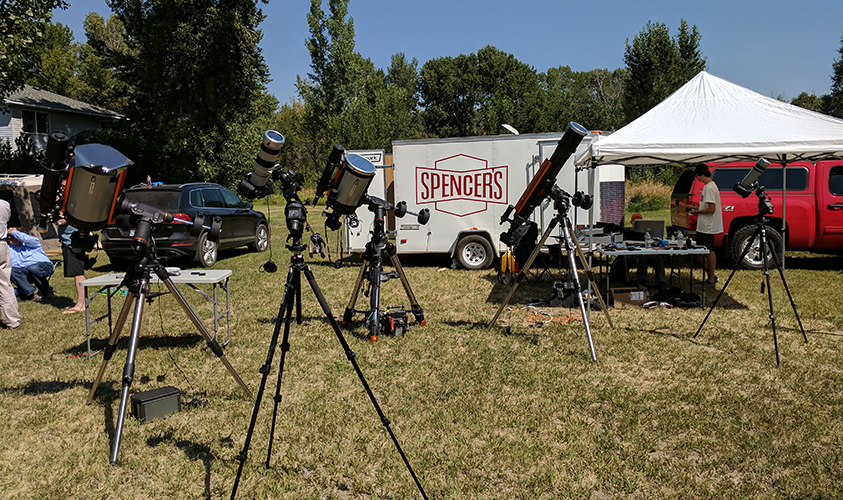
Setting up gear for the 2017 Eclipse
A few more things to consider: Powering your camera for extended periods will drian your batteries quickly. Consider having an external power supply, or at a minimum, extra fully charged batteries. We use battery grips attached to all of our cameras which allow use of 2 batteries at the same time. Some of our cameras will be attached to large external battery supplies or an AC power source. Sun shades are nice to have during the long period of imaging the entire eclipse. A comfortable chair, drinks and snacks, or even lunch prepared in advance. Most areas in line of totality will be very busy, including traffic. When totality is getting close be sure to check battery levels, focus, intervalometer settings, and everything in the vacinity. Be shure to announce to anyone close by that you will be imaging totality and to please not disturb you. Our crew will have instructions of when to perform removal of the solar filters and when to replace the filters back onto the lenses or telescopes. Most of all, Ennjoy this incredible event!! Take time to view the moment of totality. Pause and absorb the moment!!
Solar Eclipse of 2017 - Canon EOS 5DS - Full Spectrum Astro-Modified - No Filter during totality. **Be sure to excercise proper solar imaging safety. Always use a solar filter! You can damage your camera or your eyes if you do not use a solar filter properly.**
Questions?? Please feel free to contact us with any questions you may have. You can use our email address, or message us via Instagram, Facebook, X, or Threads. This page will be updated and more info added from time to time. Check back for more information as the eclipse gets closer. Share your best 2024 eclipse images with us. We'd love to see them!!
Testimonials:
Clarence:
Wow, working with you is just like working with my crew space support group at NASA. I love working with can-do people. Thanks for the follow up info here. It all looks good to me and I know we will put together the best camera produced. It is a pleasure to work with such dedicated people. Let me know if you have any issues/questions in dealing with NASA.
Again, it is a pleasure to be working with you.
Don Pettit (PH.D.)– NASA Astronaut
ISS Expedition 6 Crew Member; Space Shuttle STS-126 Crew Member; Current ISS Expedition 30 and 31 Crew member.
http://www.jsc.nasa.gov/Bios/htmlbios/pettit.html
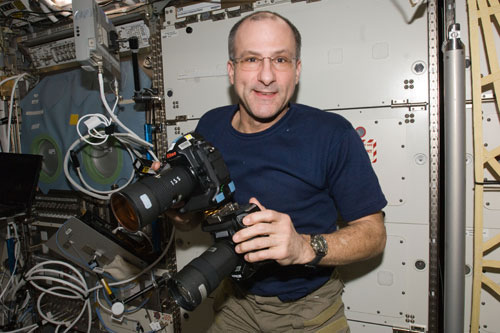
NASA/International Space Station Astronaut Don Pettit works with two still cameras mounted together, one of which is an infrared modified still camera, modified by Spencer's Camera & Photo of Alpine, Utah. Photo credit: NASA
Dear Clarence,
I got a standard Sony NEX-5 camera and found it’s a single shot colour images quite good. However I was not satisfied with the red colour spectrum in the deep space images and decided to get a conversion done.
It was a pleasure to deal with Spencer’s Camera and my new kit arrived quickly. What a difference it made! The colours are rich and there is less visible noise.
Thanks for the high quality service!
Alex Cherney
Amateur astronomer and photographer
http://www.terrastro.com
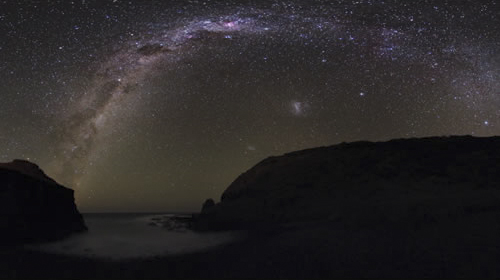
Image Copyrighted - Alex Cherney 2011