total solar eclipse. Our offices will reopen on April 11th at 10:00 AM local time. We apologize for any inconvenience.


Astrophotography and Deep Sky Photography Tips - Part II
Using a Modified Camera for Astrophotography:
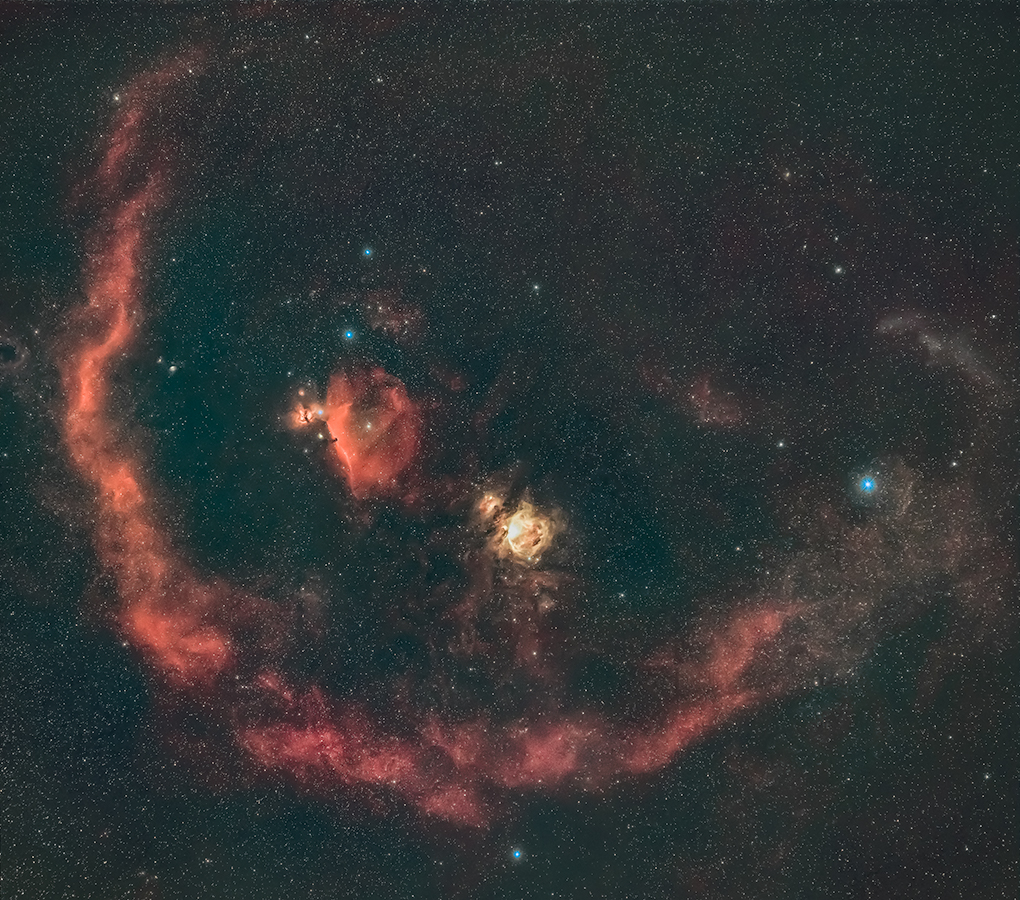
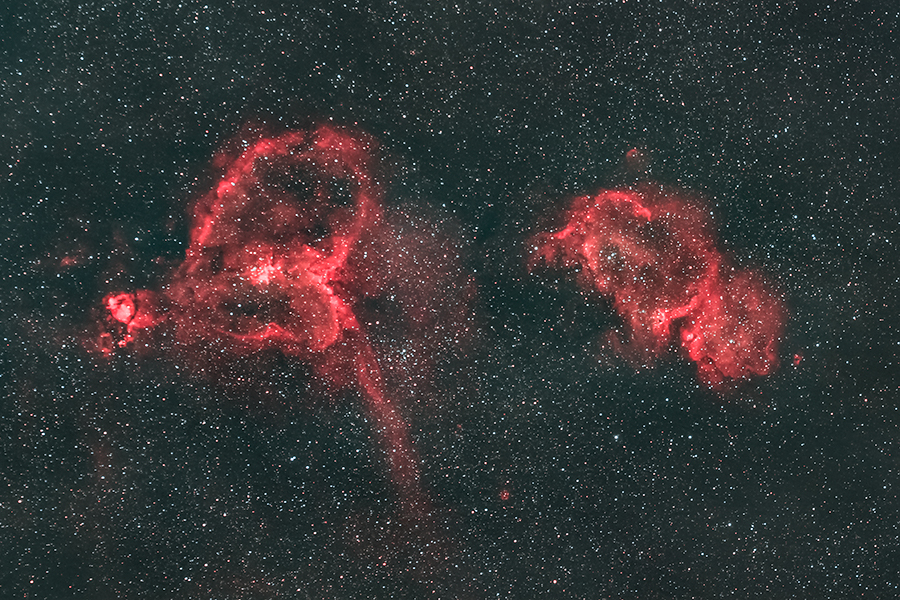
The large majority of night sky objects are not visible to the human eye. It is estimated that over 80% of all deep sky objects are not within the normal visible spectrum. By modifying a camera to "see" more than visible light the camera becomes much more sensitive and can capture things that normal cameras cannot. Astrophotography is much easier because of the ability to "soup-up" or modify a camera. A modified camera is much more sensitive to light than a normal or unmodifed camera. By modifying the camera to "see" more light it can capture night sky object much easier and with less problems. The results are cleaner, sharper, and more vivid astrophotography images. Here are a few simple tips that will help bring out the benefits of the modification.
Custom White Balance:
One of the most frequent questions we receive is how to capture accurate colors when using a modified camera. It's simple, use a custom white balance. Almost all SLR or Mirrorless cameras have the ability to use a "Custom White Balance". Simply put, you tell the camera what white is and then the camera can more accurately determine the other colors in the pallet. Learning to use the cameras custom white balance functions of your camera is essential. Also, we recommend trying a few different custom white balance settings and techniques and select the ones that best suit your liking.
First, set your custom white balance during the daytime under sunny conditions. Use a grey card (18% neutral) for the reference subject or use an Expodisk white balance tool. We prefer not to use any camera filters when setting the primary custom white balance. Store your primary image and write protect it so you cannot accidently erase it. We also recommend capturing and saving additional white balance reference images using any filters you may potentially use during your imaging sessions. This will allow you to switch between these reference images for custom white balance tests. Use the one that best suits your liking for the object you are imaging.
Manual White Balance:
Setting a manual Kelvin setting can be useful for some cameras that don't "cooperate" when setting a custom white balance. Usually something in the area of 2500K or lower is acceptable. (Some cameras won't adjust lower than 2500K) You can always adjust the color temperature or tint settings to your liking in post processing. It is usually more accurate to use a custom white balance that the camera sets using the built-in functions of the camera. But, when that fails or doesn't produce the best results you can force the kelvin setting to your liking.
Heat Reduction System:
Our heat reduction system can be added to any modification service and will help reduce the heat build-up of the imaging sensor. Heat can cause additional digital noise and "dead pixels" when shooting long exposures, video or time-lapse sequences. The benefit for astrophotography is a cleaner image straight from the camera. The heat reduction device is passive and does not consume any power. It will not cause any negative effects to the performance of the camera in any way. We recommend the additon of the heat reduction system in order to maximize the performance of the imaging camera.
Automatic Dark Frame Subtraction:
This recommendation is a benefit when using any camera including an astro-modified model. Most cameras have the ability to automatically subtract a dark frame from each exposure. This will automatically remove noise and dead pixels before the final image is written to the memory card. There are positives and negatives to this procedure. The positives are cleaner exposures straight from the camera without the need to process dark frame subtractions in post processing. One of the negatives is the longer time consumed for each dark frame to be captured. Some believe that in-camera dark frame subtraction is unnecessary and the same results can be achieved by subtracting dark frames in post processing. It is true that dark frames can be somewhat successfully subtracted in post but we have found the in-camera subtractions are more accurate; mostly because each dark frame is captured and subtracted under the same temperature conditions as the primary image. It does take longer to capture images when using in-camera subtractions but the results are better.
As always, please contact us with any questions regarding this or any other product or service we provide: info@spencerscamera.com